Create a MySQL database
Add a MySQL database in the Control Panel; its main user is created automatically.
A MySQL database is created with the same wizard as any other database in the Control Panel. The main database user is created together with the database.
Note
MySQL databases run on MariaDB 10.10, which is compatible with MySQL 8.0.
Create the database
Start the wizard
Sign in to the Control Panel, go to Databases and click Add database.
Choose the plan
Click Select PREMIUM database or Select FREE database. Premium needs a free database slot in one of your subscriptions; if you have none, you are taken to order a subscription or add capacity first.
Choose the database type
Select MySQL 8.0 and click Continue. There are no further settings for a MySQL database.
Choose the subscription (Premium only)
Pick the subscription whose database slot should be used and click Continue. For a Free database this step is skipped.
Choose the datacenter
Click Select EU datacenter or Select USA datacenter. Pick the location closest to the application that will use the database — ideally the same datacenter as your website. The USA datacenter is not available for the Free plan.
Create the database
Click Create Database. The database is prepared in the background and appears in your Databases list within a few moments.
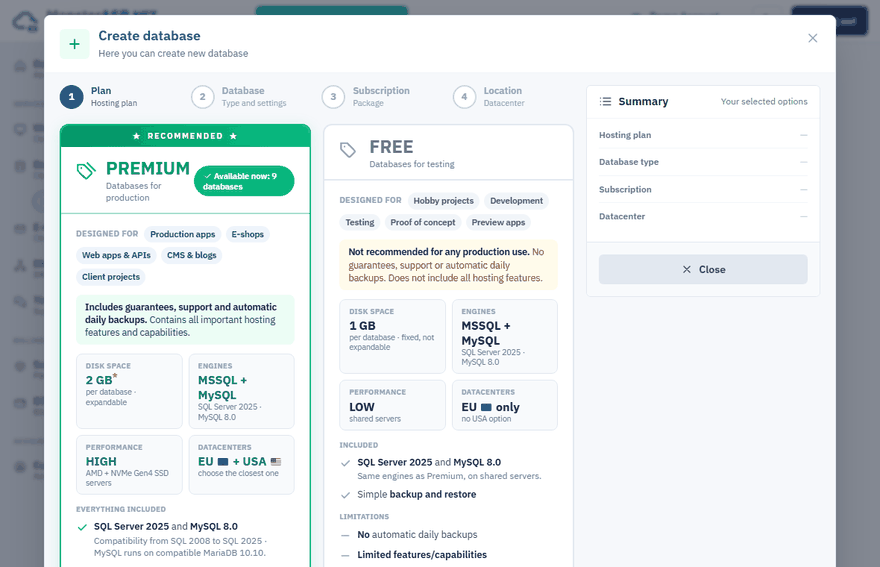
Free or Premium?
| Free | Premium | |
|---|---|---|
| Intended for | Testing, development, hobby projects | Production applications |
| Disk space | 1 GB, fixed | 2 GB, expandable with add-ons |
| Datacenters | EU only | EU or USA |
| Automatic daily backups | No | Yes, kept for 14 days |
| Planned SQL tasks | No | Yes |
See Free and Premium plans compared for the full comparison.
After the database is created
Click the database in the Databases list to open its management pages. The Overview page shows the server name, login and password, and the left menu takes you to Tables, Users, Process, Resource, Tasks, Run SQL, Backups and WebMySQL.
To give each application its own login, open Users and click Add user. A user can have the Read+Write or the Read only permission; read only is handy for reporting tools or a second application that must not change data.