How to deploy .NET Core Web Application using Visual Studio
This article contains steps how to publish ASP.NET Core Web Application using Visual Studio.
ASP.NET / .NET freehosting
If you don't already have our ASP.NET / .NET freehosting, sign up for FREE at https://MonsterASP.net/.
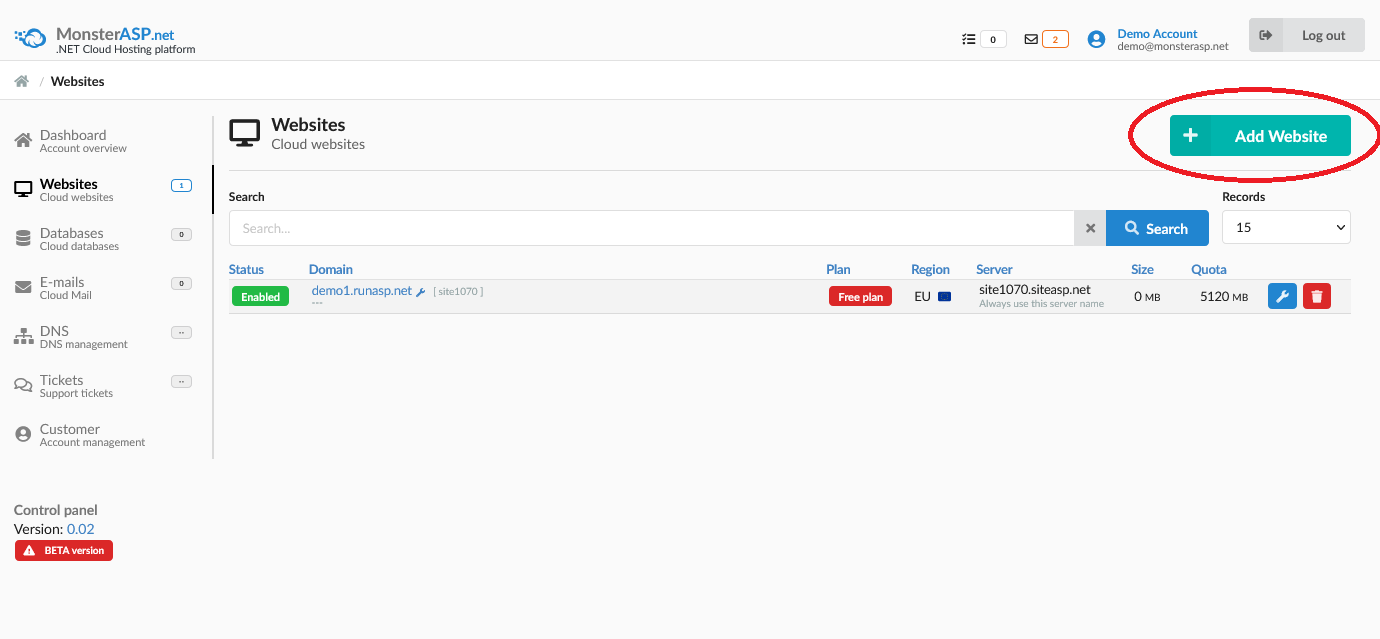
1) Initial Setup
Create website from our hosting Control panel
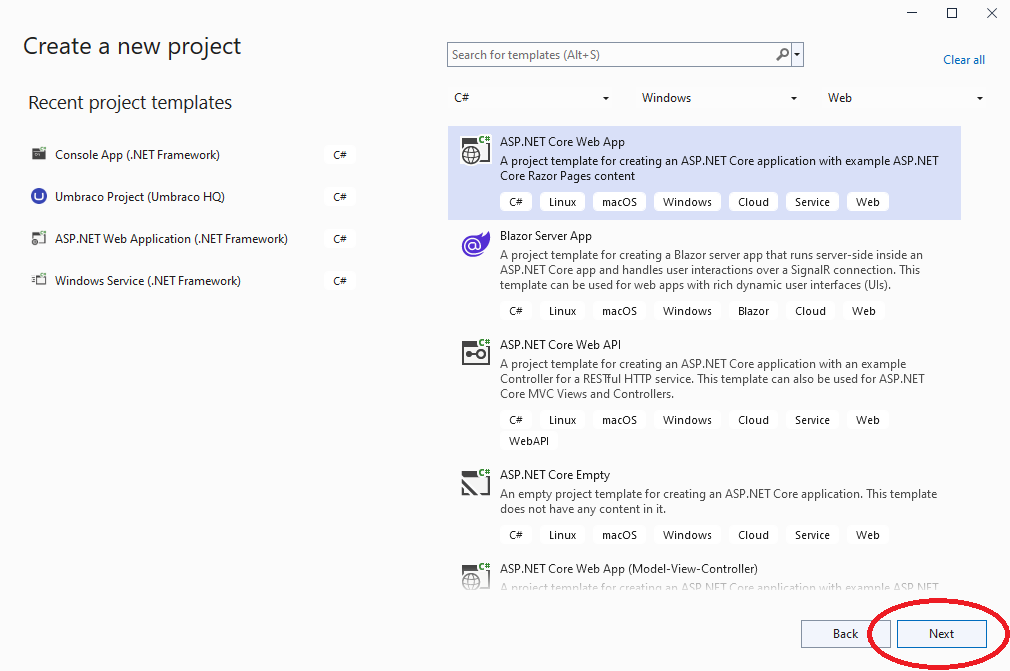
2) Creating Project in Visual Studio
Select ASP.NET Core Web App project and click to Next.
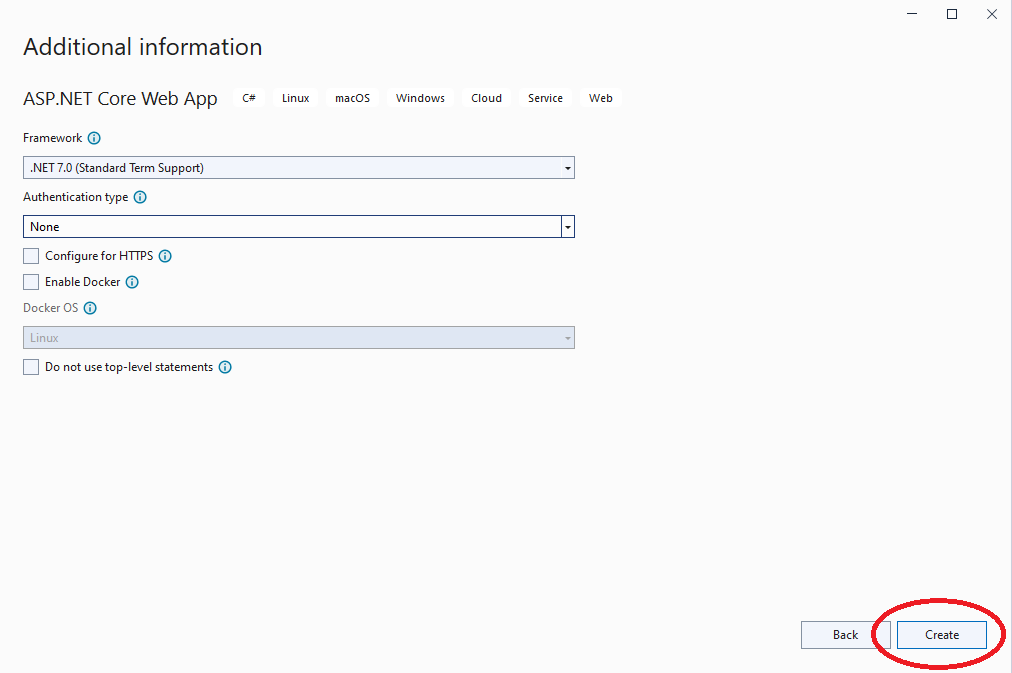
Fill and select additional informations and click to Create.
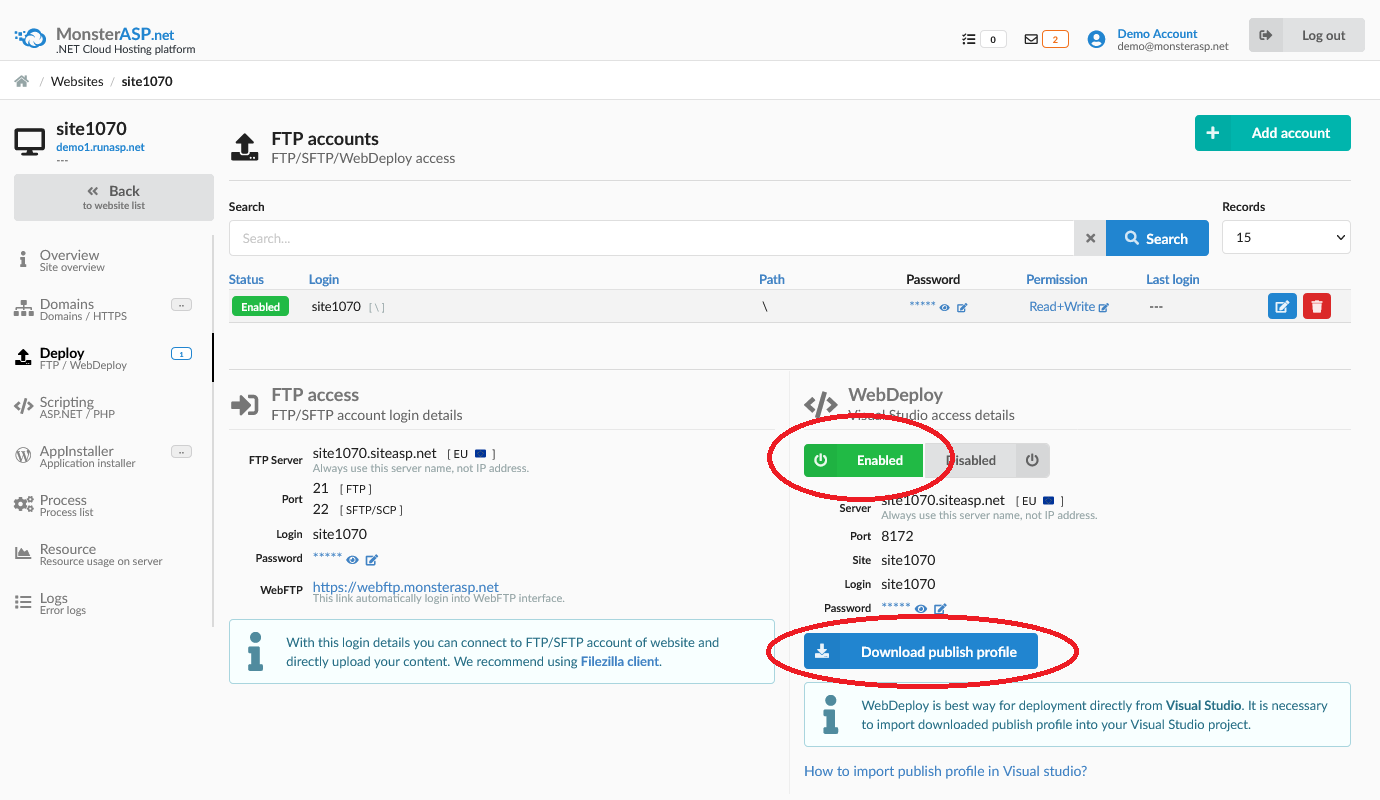
3) Download WebDeploy publish profile
First you need to activate WebDeploy account in our hosting Control panel and then download WebDeploy publishing profile (.publishSettings).
4) Prepare publish Project
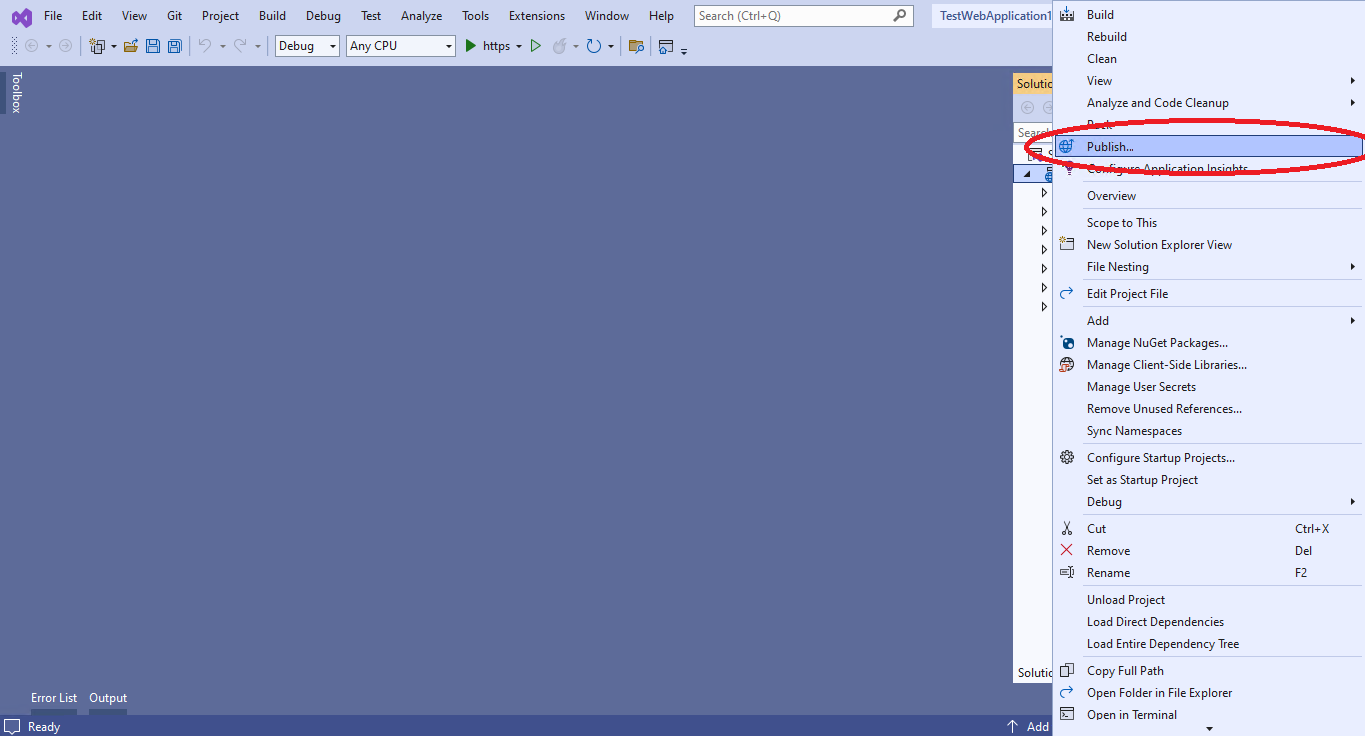
Right-click on project in Solution Explorer and select "Publish."
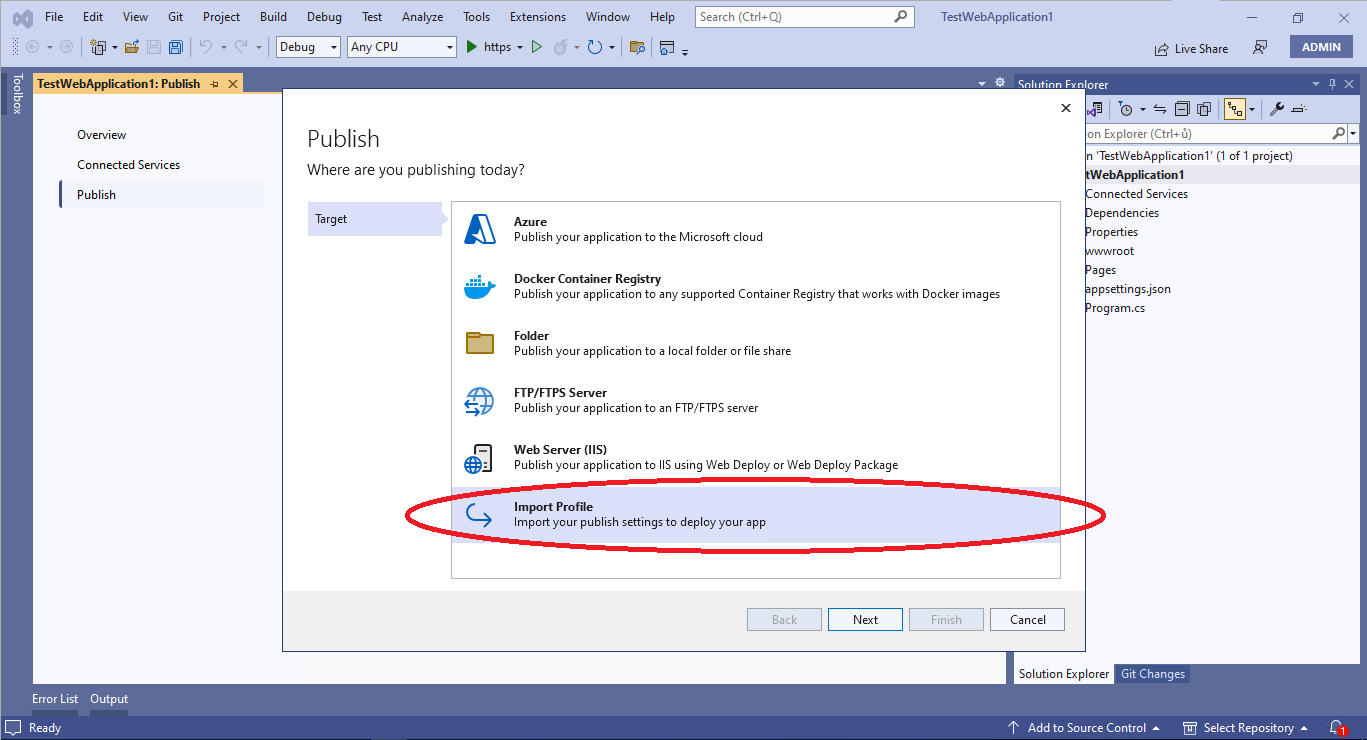
Click on Import profile and select WebDeploy profile file (.publishSettings) which you downloaded from hosting Control panel.
5) Publish to server
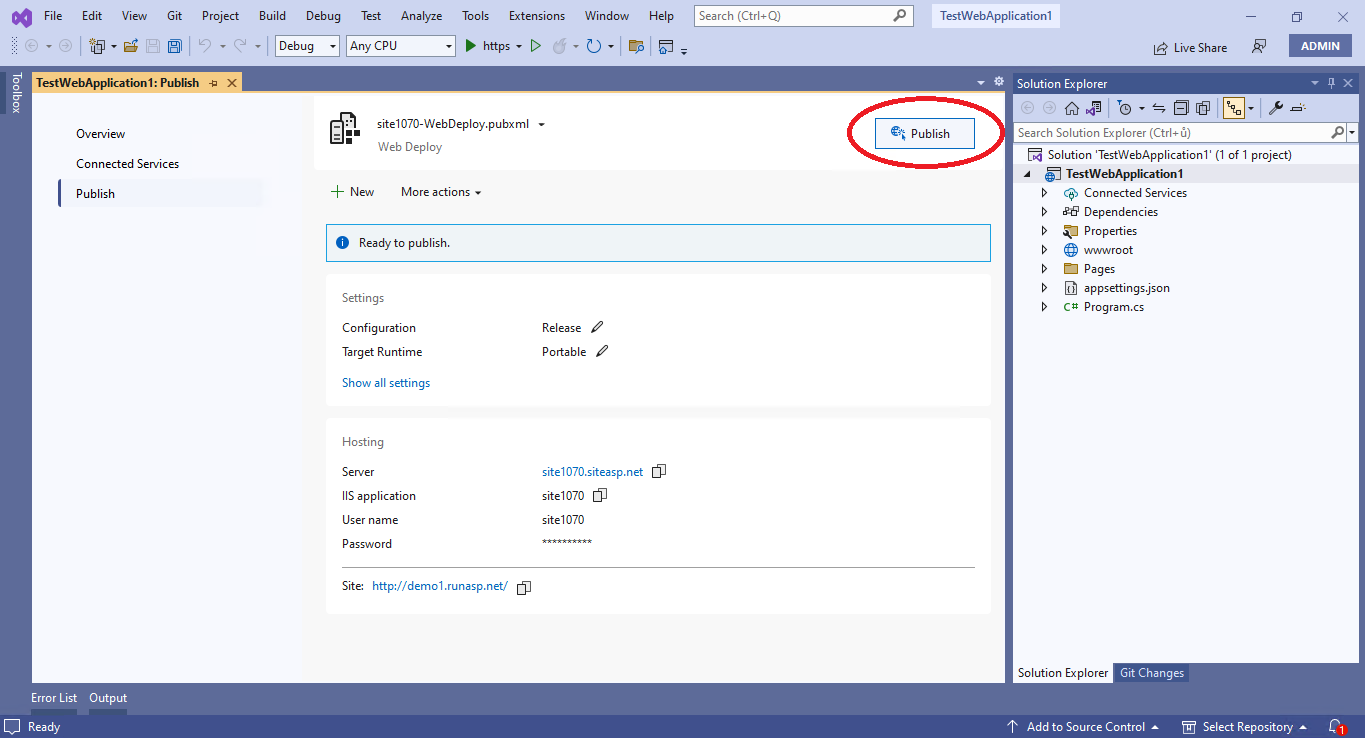
In final step click "Publish" button. After this action will be your ASP.NET Core Web App project published to your Website.
6) Congratulations, it's done.
Open result in your web browser.