How to customize PHP settings
This article provides step-by-step guide on how to customize PHP settings on MonsterASP.NET hosting.
ASP.NET hosting / .NET Freehosting
If you don’t already have our ASP.NET hosting / .NET Freehosting, sign up for FREE at https://MonsterASP.net/.
1) Setup PHP for your website
This article follows up on first part, where we show you how to enable PHP and select PHP version:
How to enable PHP and setup PHP version
We assume that PHP is already enabled and setup for your website.
2) Customize PHP settings
In this example we’ll show you how to easily change selected PHP parameters such as:
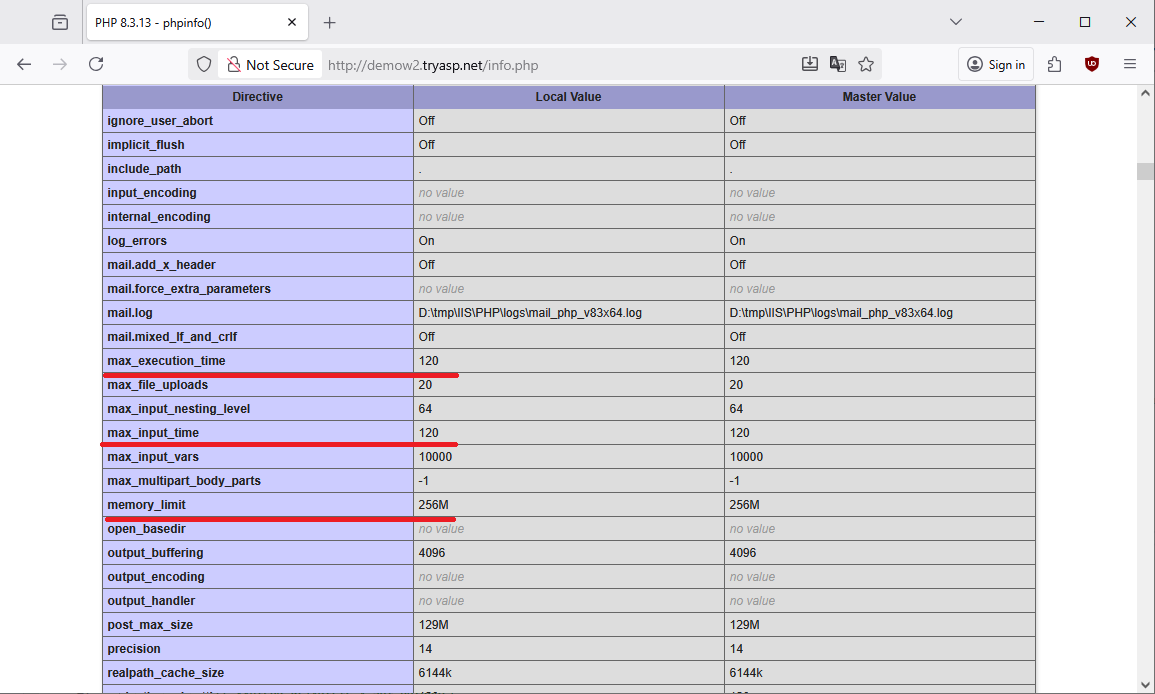
- max_execution_time
- max_input_time
- memory_limit
Default values:
PHP .user.ini file:
Configuration file .user.ini allows you to override default PHP parameters for your website. This file must be uploaded to /wwwroot/ folder. Parameters are in .user.ini written in same format as in main php.ini file.
File .user.ini content:
max_execution_time = 200
max_input_time = 200
memory_limit = 512M
Once your .user.ini file is ready, you can deploy it to your website.
There are several deployment options available:
Deployment options:
- 1) Use WebDeploy command line option [fastest]:
https://help.monsterasp.net/books/deploy/page/how-to-deploy-website-content-from-command-line - 2) Use ZIP archive upload and extract [fast]:
https://help.monsterasp.net/books/deploy/page/how-to-deploy-website-content-from-zip-file - 3) Use Filezilla via FTP/SFTP upload [slower]:
https://help.monsterasp.net/books/deploy/page/how-to-deploy-website-content-via-ftpsftp
In this example we’ll use just simple WebFTP access https://webftp.monsterasp.net to deploy our .user.ini file.
This file must be uploaded into your website root directory \wwwroot.

Folder \wwwroot is your website root directory and .user.ini must be located inside it.
After uploading check your phpinfo() page again and you should now see your customized PHP settings applied:
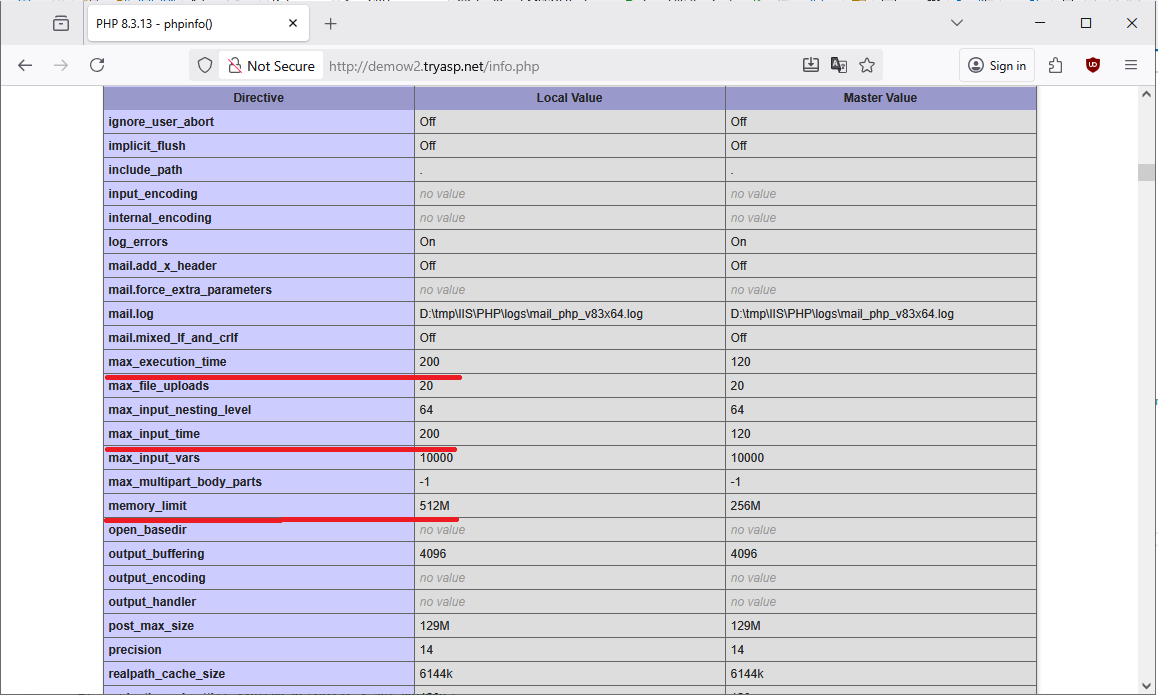
Done! Your PHP settings have been successfully customized for your website.